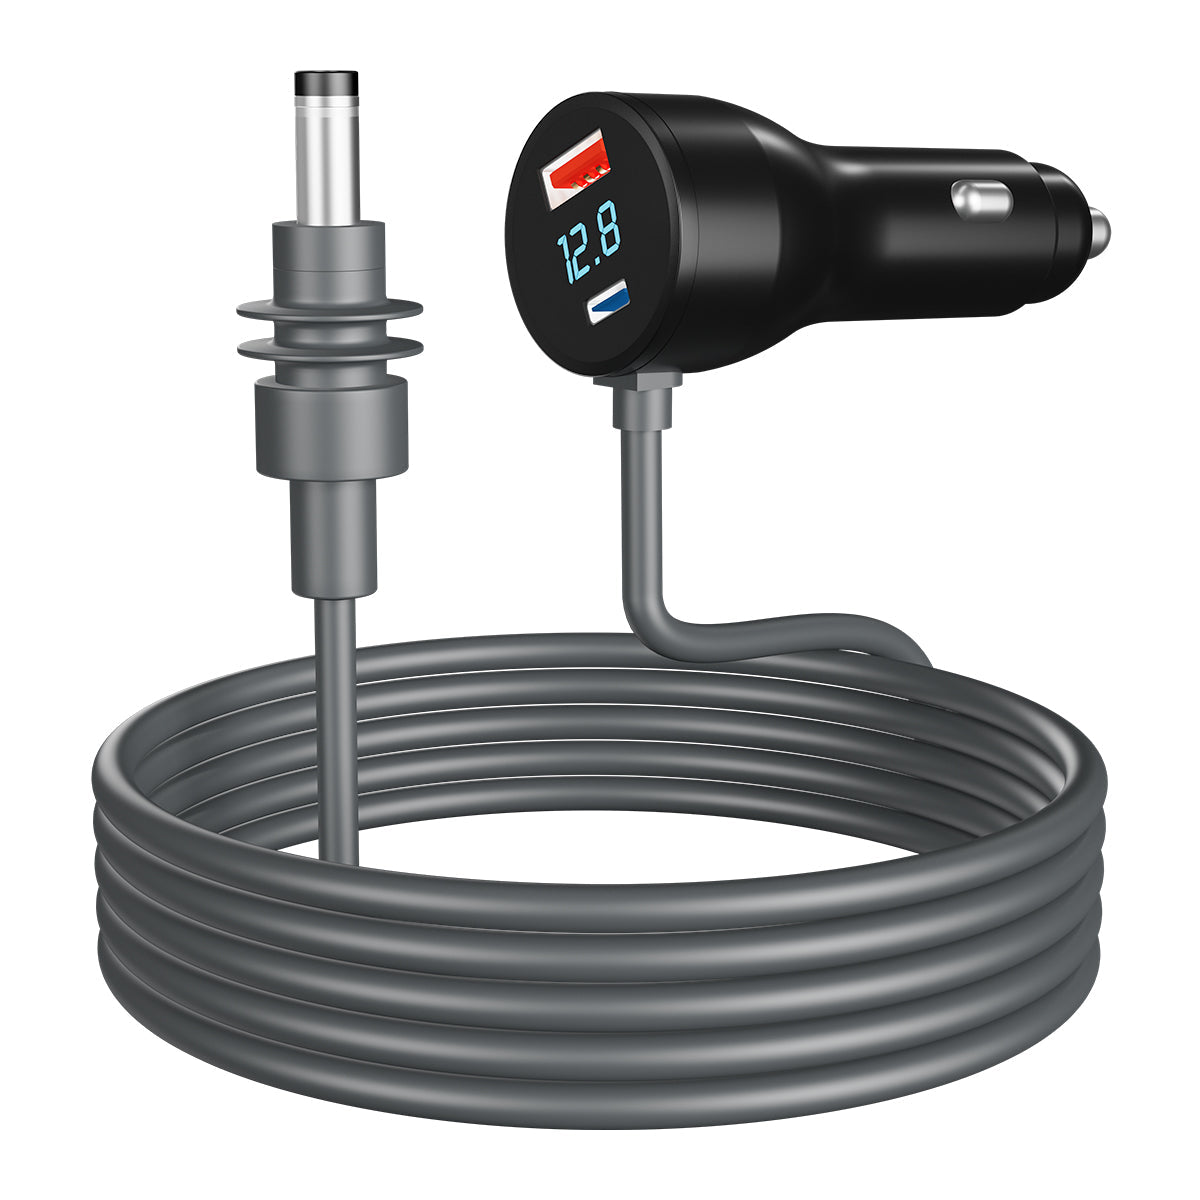
The advent of satellite internet has revolutionized connectivity, especially in remote and underserved areas. Spearheading this innovation is SpaceX’s Starlink, a satellite internet service designed to deliver high-speed internet globally. Among its offerings, the Starlink Mini stands out as a portable, compact solution for users on the go—think campers, travelers, or rural dwellers. At the heart of this system lies the Starlink Mini Cable, an essential component that connects the satellite dish to the router, ensuring seamless data transmission.
This article dives deep into the Starlink Mini Cable, exploring its features, benefits, and a step-by-step installation guide. Whether you’re new to Starlink or looking to optimize your setup with Starlink accessories, understanding the role of this cable is key to maximizing your internet experience. We’ll cover its technical specifications, practical advantages, and expert tips—all backed by authoritative sources—to help you make the most of your Starlink Mini setup.
What is Starlink Mini?
The Starlink Mini is a downsized version of the standard Starlink kit, designed for portability without compromising performance. Launched by SpaceX, it caters to users who need reliable internet in locations where traditional broadband isn’t an option. Unlike its larger counterpart, the Starlink Mini is lightweight and easy to pack, making it ideal for camping trips, RV living, or temporary setups in rural areas.
Key features include:
- Compact Dish: Smaller than the standard dish, yet capable of connecting to Starlink’s satellite network.
- High-Speed Internet: Offers download speeds of 50-100 Mbps, depending on location and network congestion.
- Ease of Use: Comes with a simplified setup process, including the Starlink Mini Cable.
Compared to the standard Starlink kit, the Mini version sacrifices some bandwidth for portability, but it remains a game-changer for mobile internet users. Its use cases range from powering remote workspaces to streaming movies in the wilderness.
The Role of Starlink Mini Cable
The Starlink Mini Cable is more than just a connector—it’s the lifeline of your Starlink Mini system. This cable links the satellite dish to the router, transmitting both data and power in a single, streamlined design.
Technical Specifications
- Length: 25 feet (7.6 meters), providing flexibility in dish placement.
- Durability: Weather-resistant, rated for temperatures from -40°F to 140°F (-40°C to 60°C).
- Connectors: Proprietary, custom-fit for the Starlink Mini dish and router.
- Shielding: High-quality shielding reduces interference for stable performance.
How It Works
The cable connects the dish—responsible for receiving signals from Starlink satellites—to the router, which distributes Wi-Fi. Its dual-purpose design eliminates the need for a separate power cable, simplifying setup.
Why It Matters
Using the official Starlink Mini Cable ensures:
- Optimal Performance: Matches the system’s electrical and data requirements.
- Safety: Meets outdoor safety standards.
- Warranty Protection: Avoids complications with third-party alternatives.
Table: Starlink Mini Cable vs. Standard Starlink Cable
| Feature | Starlink Mini Cable | Standard Starlink Cable |
|---|---|---|
| Length | 25 feet (7.6 m) | 75 feet (22.9 m) |
| Weather Resistance | Yes | Yes |
| Portability | High | Moderate |
| Compatibility | Mini Kit Only | Standard Kit Only |
Benefits of Using Starlink Mini Cable (800 words)
The Starlink Mini Cable offers several advantages:
- Signal Stability: Its shielding minimizes disruptions.
- Durability: Built to withstand harsh weather.
- Portability: Compact and easy to coil for travel.
- Compatibility: Works seamlessly with Starlink Mini accessories.
For example, a user in a snowy mountain cabin can rely on the cable’s weather resistance to maintain connectivity during a storm.
Installation Guide for Starlink Mini Cable
Setting up your Starlink Mini is straightforward with this guide:
- Unbox the Kit: Ensure you have the dish, router, and Starlink Mini Cable.
- Position the Dish: Use the Starlink app to find an unobstructed sky view.
- Connect the Cable: Plug one end into the dish and the other into the router.
- Secure the Cable: Route it neatly to avoid tripping hazards or damage.
- Power On: The router will boot up, and the dish will align itself.
Tips: Avoid sharp bends in the cable and keep it elevated off wet ground.
Troubleshooting and Maintenance
Common issues include loose connections or weather damage. Check connectors and replace the cable if frayed. Regular cleaning and storage extend its lifespan.
Conclusion
The Starlink Mini Cable is a small but mighty part of the Starlink Mini ecosystem. By understanding its role and following proper installation, you can enjoy reliable internet anywhere. Explore other Starlink accessories to further enhance your setup!


Share:
How to Choose the Right Starlink Cables for Your Setup